Modern Queen Anne Dining Chairs
Black Walnut with Leather Upholstery
Richmond California
Black Walnut with Leather Upholstery

I love chairs. The very first things I ever attempted to make as a woodworker were chairs. Then I got wise and realized that you really need to build up to these things. That mostly means starting relatively small.
I think a good progression to think through is this:
Table: Learning to build a solid table is one of the most important things you can learn to do as a woodworker. It teaches you many fundamentals such as leg construction, apron joinery, and basic strength and structure of a piece.

A table I made a long, long time ago. This was one of my portfolio pieces in my application to the North Bennet Street School.
Bench: A bench is basically a table but a bit lower. You can incorporate a back support to get the hang of the seated angle for comfort. You can get away with a lot when making a bench. Just make sure it's wide enough and won't fall over and you've pretty much got it.

A bench I made around the same time as the table above. It rocked for shit and, honestly, I cut the rockers off of it and sold the bench off at a yard sale before moving to Boston.
Stool: This is where things start getting a bit more tricky. Stools need to be (normally) small enough to be called "stool" yet sturdy enough to handle the every day wear and tear of sitting, leaning,

A weird stool I made just for shits. It's basically designed around my lack of wood at the time. The seat is a weird crotchy part of a log a friend gave me. I would like one day to make it again but... you know... better.
I've worked my way through this progression with varying levels of success since I first fell in love with wood, and I am still progressing my way through. I want to one day have an in depth understanding of all types of chair construction and joinery, from Windsor to Chippendale, Esherick to Maloof.
My current venture is the building of the woven Shaker Chair. The chair itself is constructed of turned Sapele parts. The back rails are steam bent and it will have rockers attached on the bottoms.

This form is modified from it's original version, made by Lance Patterson. The curve wasn't drastic enough on the first bend and the parts sprung back nearly straight. I moved a few parts around and got a much heavier angle the second time around.
Steam bending parts after turning is quite the challenge. This form looks a little bit of tweaking to get right but it all worked out in the end. The big trick is the form having a scooped surface to support the round parts.

Getting ready to knock the whole damn thing together.
The chair is now glued up in it's frame-form using Old Brown Glue. It took some figuring out to get the angles correct for drilling the mortises. I couldn't begin to explain how it ended up working out, but suffice to say that I used a drill press and I would not have been able to figure it out had I not taken a class on Windsor Chair making from Peter Galbert.

One interesting thing I noticed when making this chair is the number of distinct differences between making Post and Rung chairs and Windsor chairs. Chiefly among them is the entirely different process used when locating the angle for the side rungs. On a Windsor Chair, be it box or "H" stretchers, the angles are already mostly figured out for you during the reaming process of the seat. There are a lot of ways to drill mortises for Post and Rung chairs, many of them involving levels and such. I did no such thing, however.
I wish I had taken more pictures of the process but, well, I didn't.
One mistake I did make is that my plan for attaching the back supports didn't exactly work out after these photos were taken. I suppose there will be some dirty secrets to let out the next time I write one of these. Maybe the good will outweigh the bad. Maybe not, but who really cares. This is supposed to be fun and enjoyable, right? No sense stressing out about it and taking the piss out of the whole damn process.
Until next time.
I've been busy.
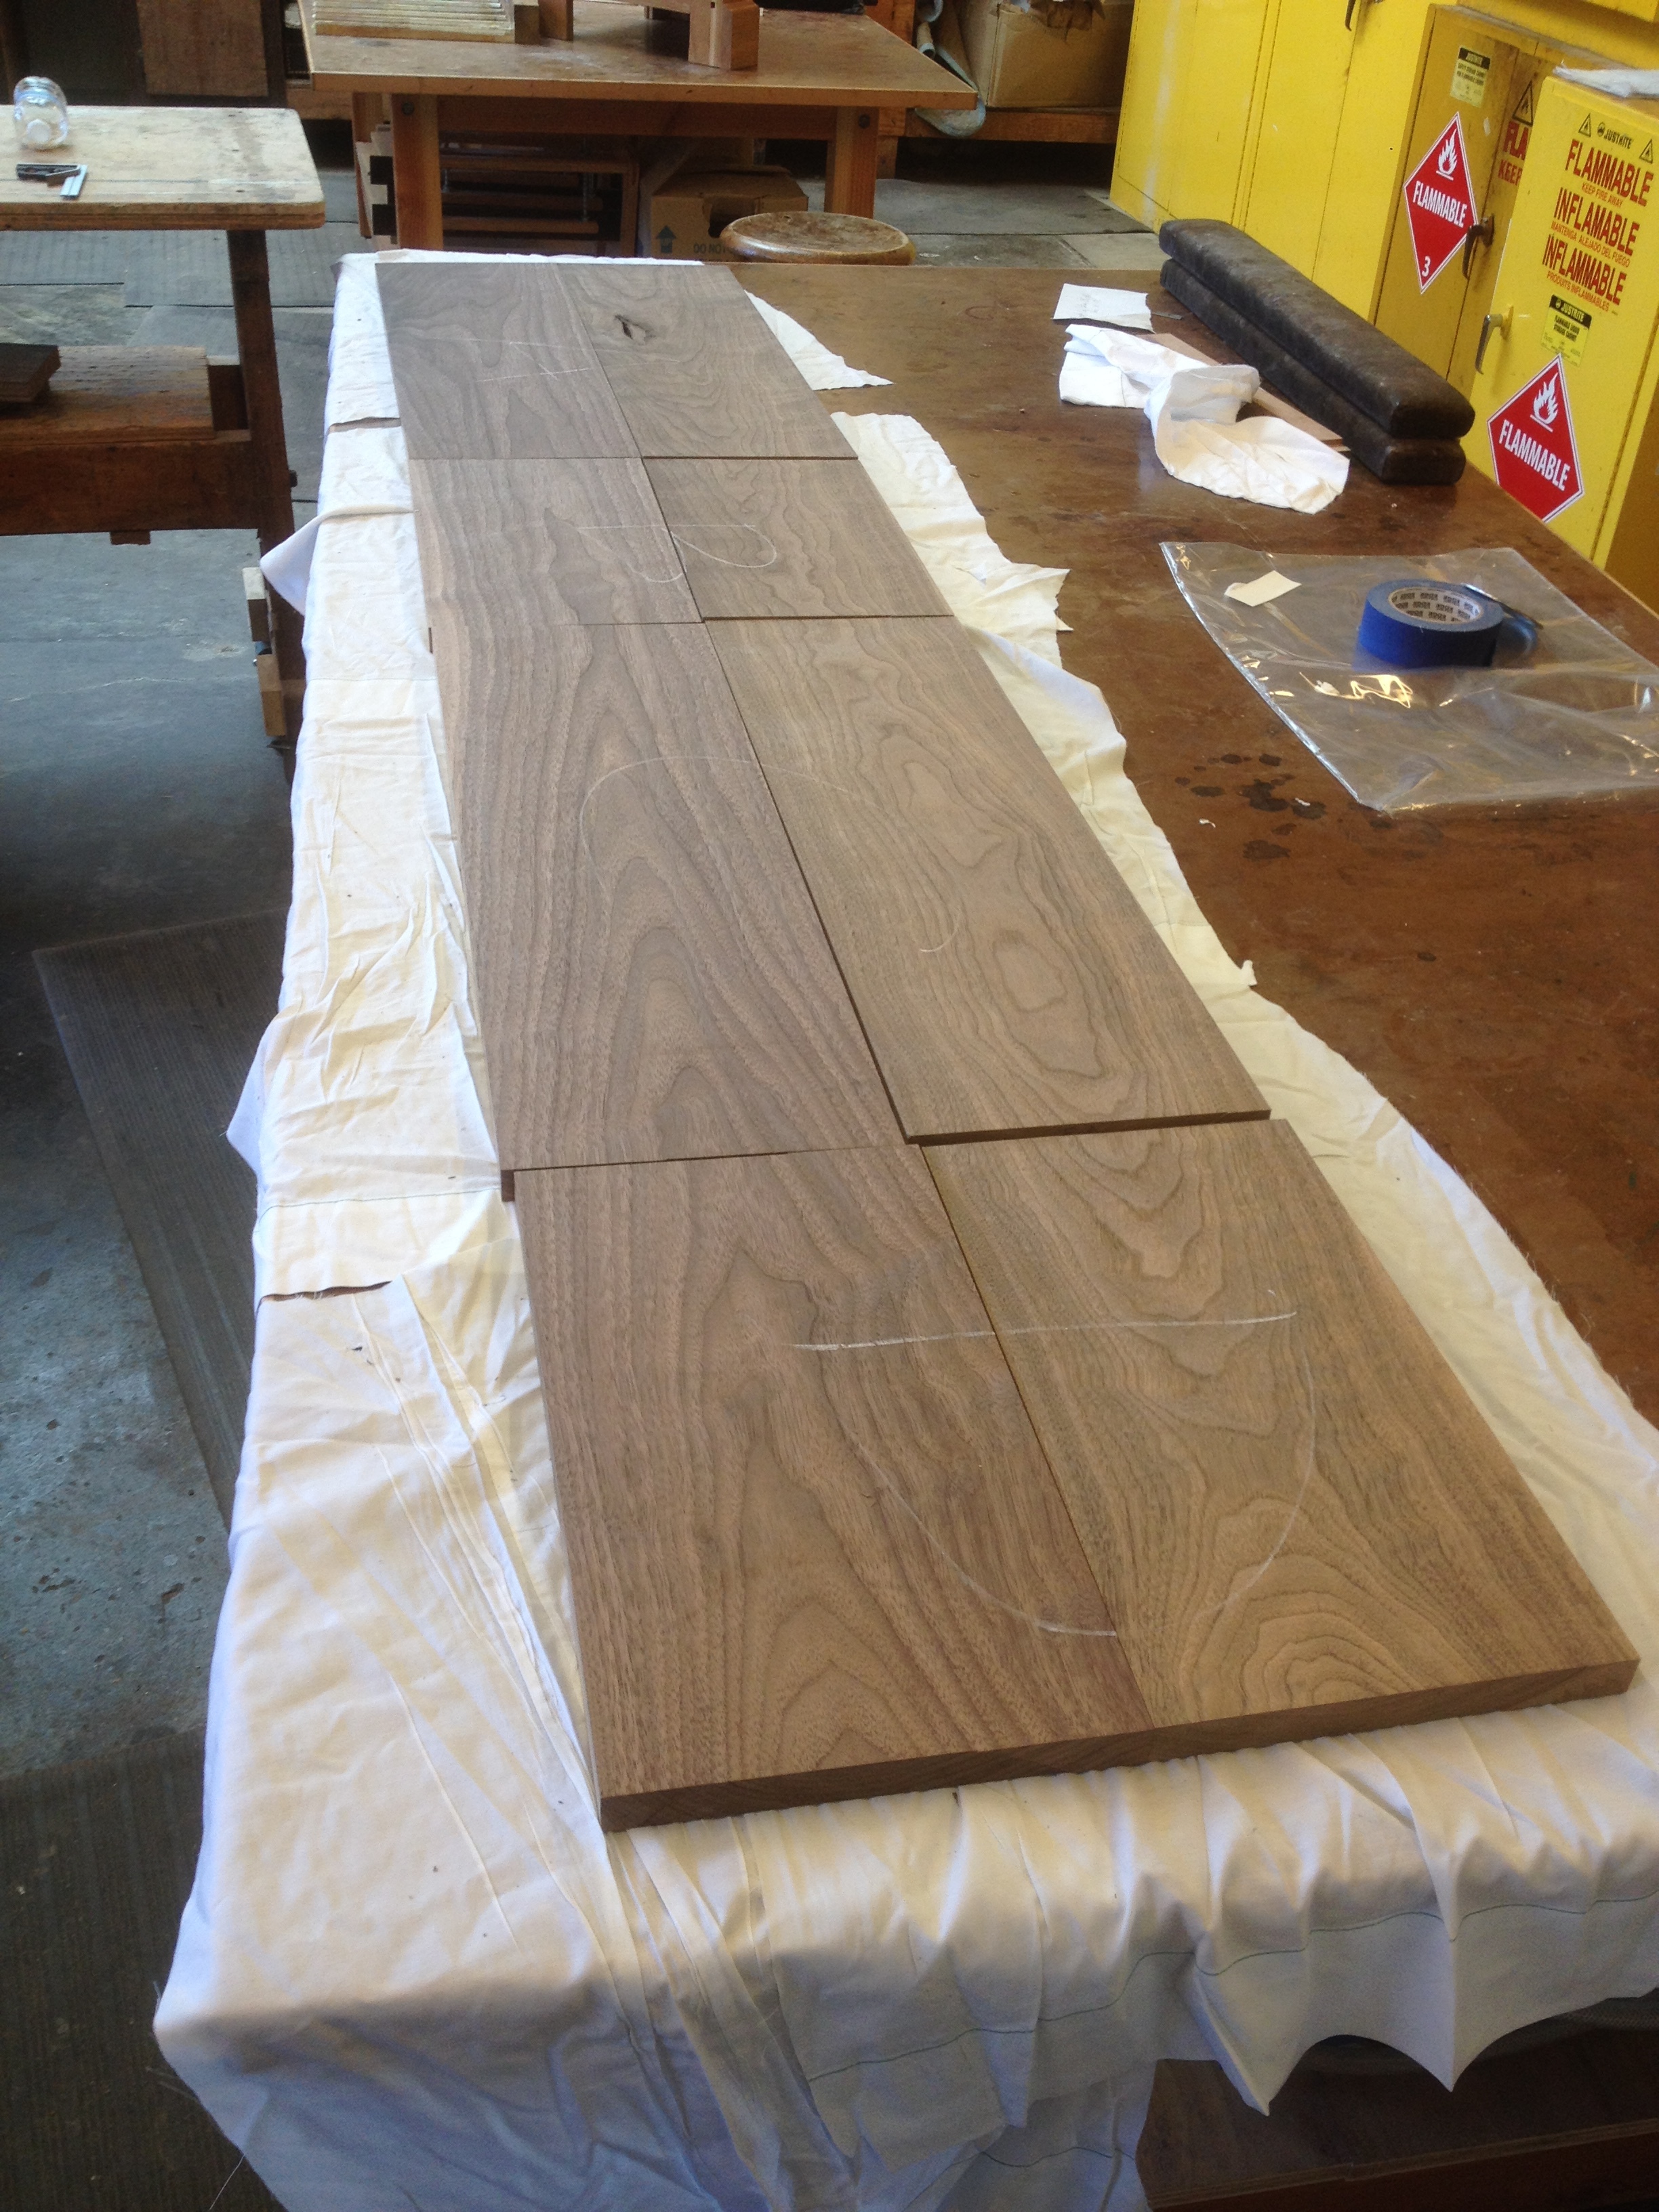
Laying out the toolbox panels to ensure a continuous grain pattern.
I'm working on my toolbox, which is one of my course requirements at NBSS.
I've got the case dovetailed together, dadoes are cut on the interior to hold the drawer dividers, rabbets are cut on the back to hold the ship lap in place, and I'm almost done patching all of my dirty dovetail gaps.

Dovetail bliss.
Next up will be finish milling the divider stock and fitting them to the dadoes in the case. A little time on the mortiser and some hand work and I hopefully will be able to move on.
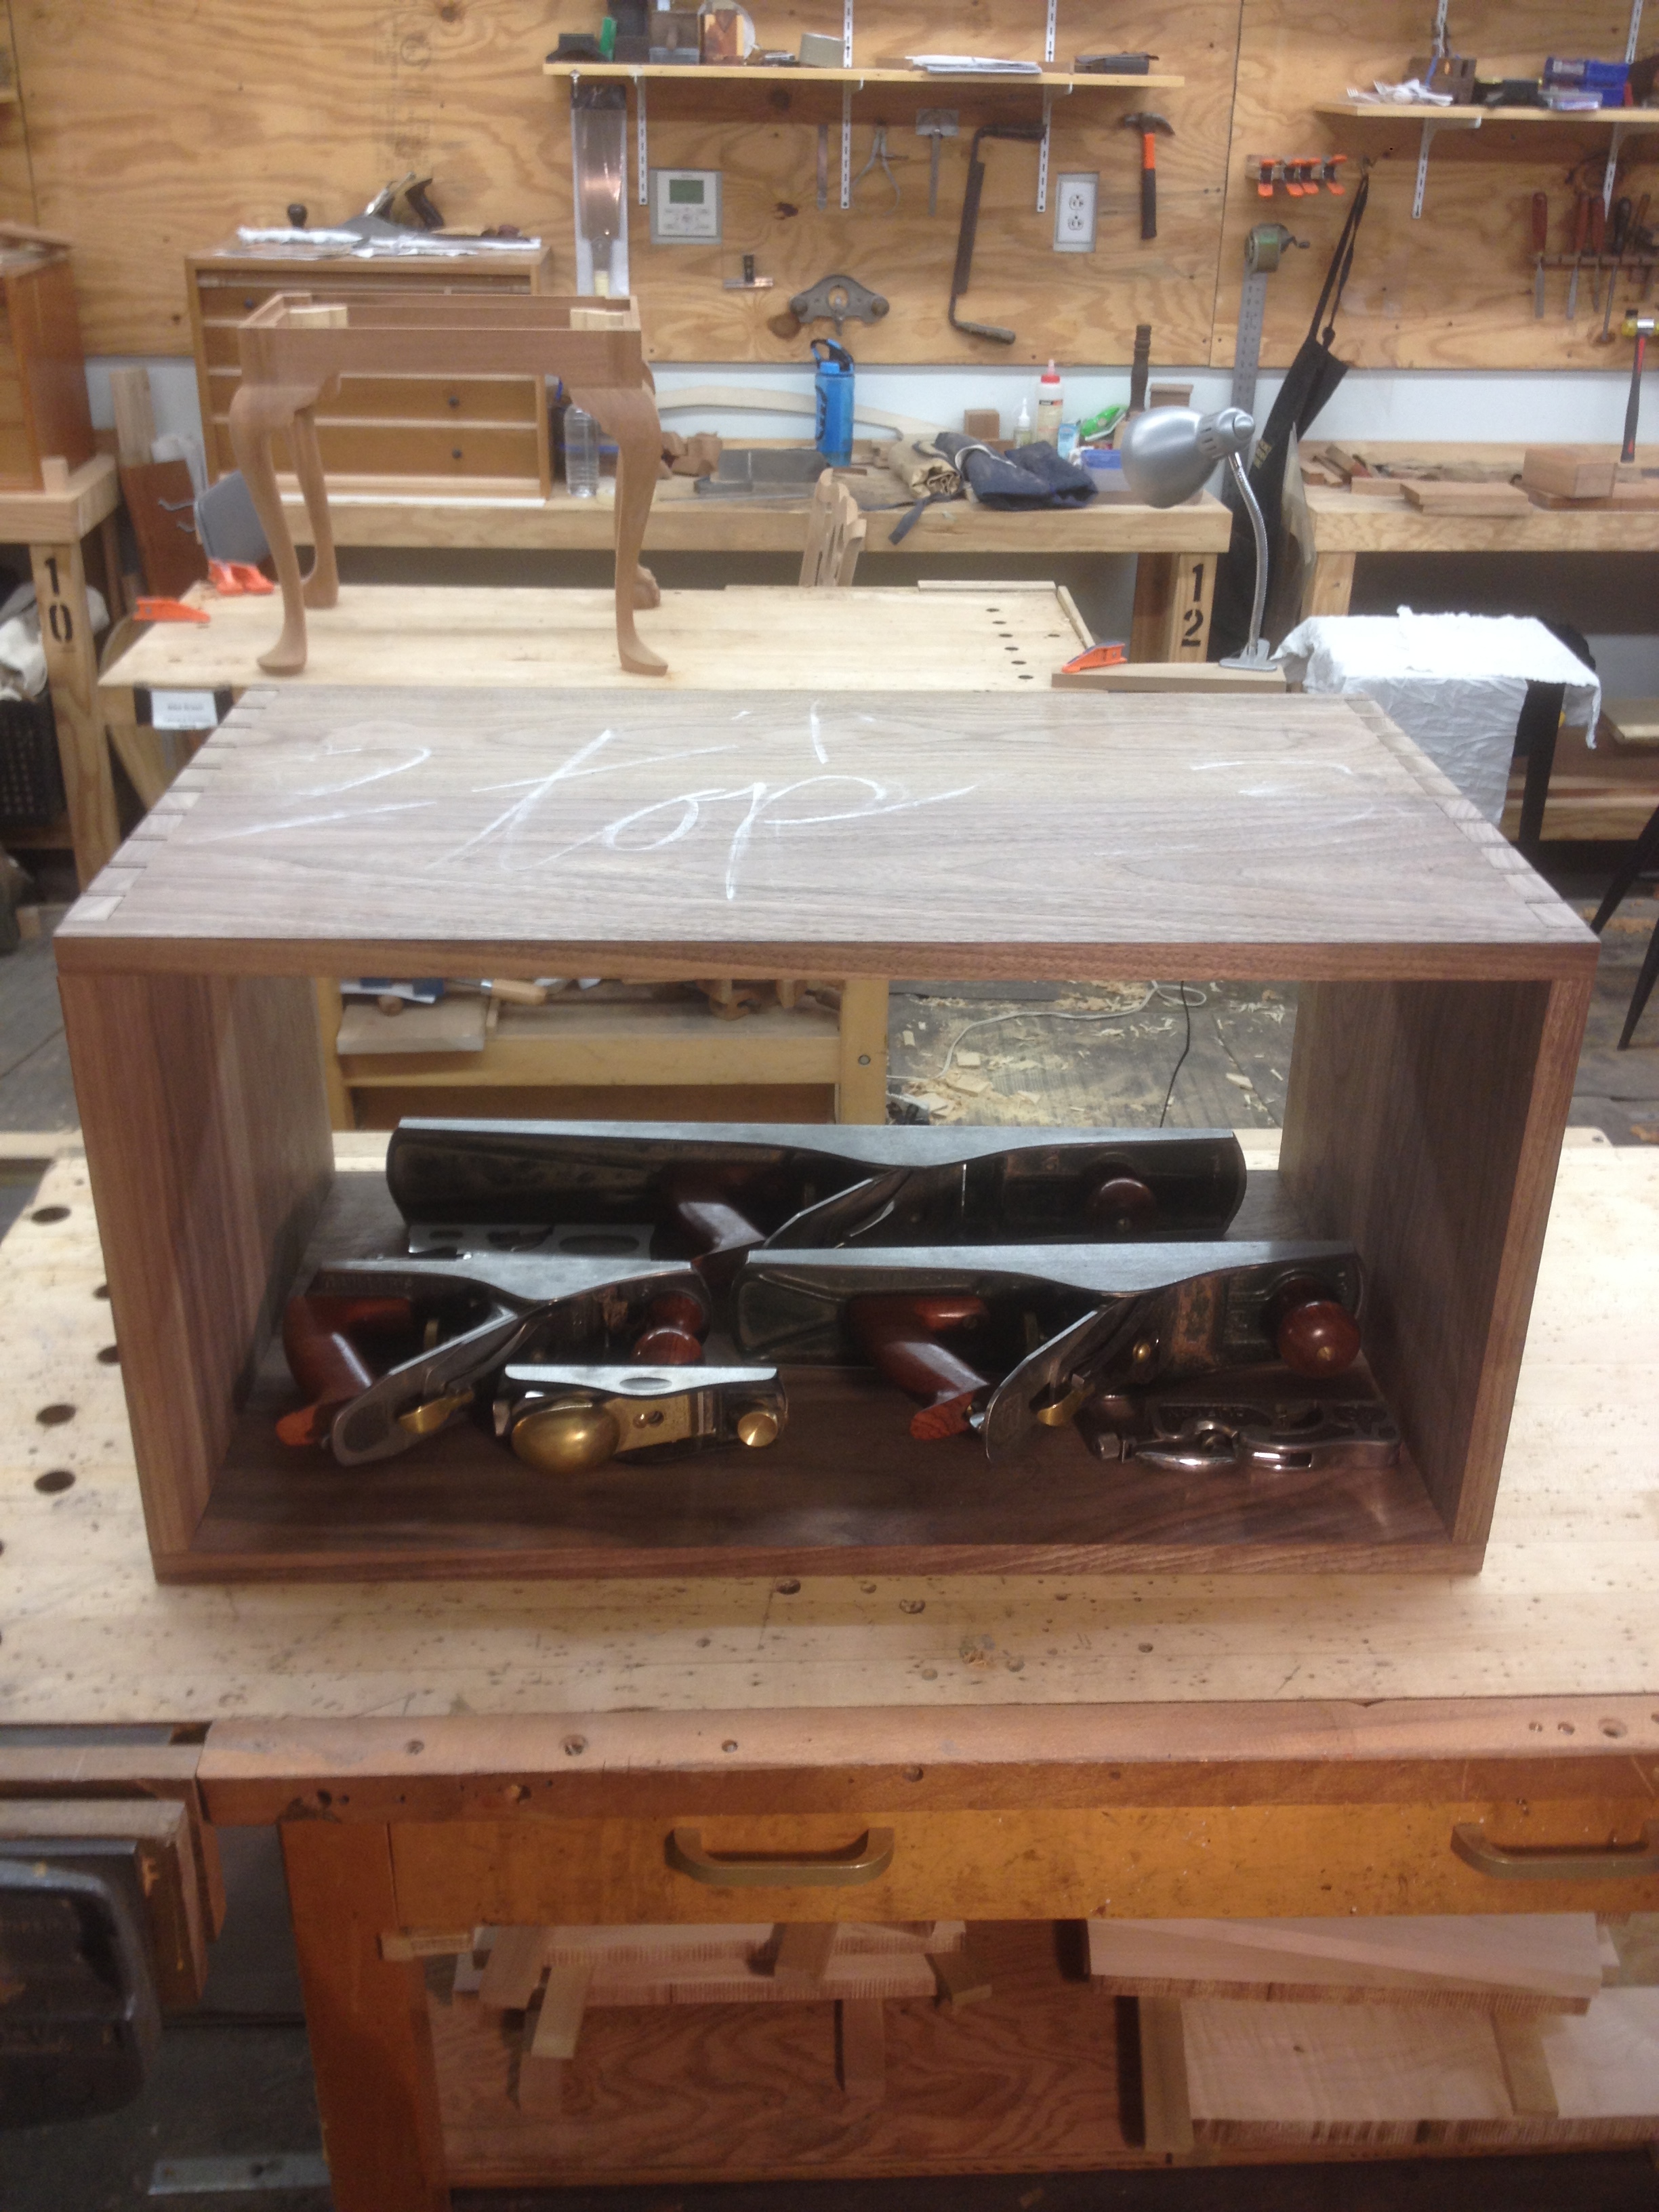
The bottom drawer of my toolbox should house my essential planes nicely.
I've got a few other things going on that have been taking up my time. I'm working on a rocking chair. I don't have any pictures of it yet but to be honest there's not much to photograph right now. Such is the way of the Shaker chair.
All of that, combined with working for NBSS nights and weekends and preparing to sublet my apartment and move to a new neighborhood and I've barely got time to eat when I get home.
Oh, and I cut off the side of my finger Friday.
Click if you like looking at gross things.
Life.
Until next time.

I still need to put finish on this bowl.
I turned it from a chunk of freshly cut cherry I found in the trash in our building. Halfway into hollowing it out on the lathe I saw some rather large checks beginning to appear. As much as I wanted to keep it on the lathe and remove more material, the threat of the chunk exploding in my face at 1600 rpm was far too real.
What to do?
I had time. And a few podcasts to catch up on. Maybe I'll just start walking away at it with some carving gouges.
Yeah.
I should really finish this thing. Will post pics when I get up the initiative.

